Nose Bridge Starting Point Lowering and Glabella Correction
- noselab
- 2024년 6월 21일
- 3분 분량
최종 수정일: 2025년 10월 10일
Today’s case is about a revision rhinoplasty for a patient whose glabella area had become excessively high after a previous surgery.
This made her eyes appear too close together and sharp, while the overall nasal bridge looked unnaturally elevated and bent to the right.
The patient hoped for a softer, more natural appearance by lowering the starting point of the nose bridge.
Preoperative Analysis and Patient Concerns

FRONTAL VIEW
The space between the eyebrows was too high.
The nose was bent to the right side.
The nostrils were too visible and asymmetric.
The nose looked too long.

SIDE VIEW
The union between the forehead and the glabella looked very unnatural.
The nose tip was short and droopy.
The columella looked retracted and the alar was descending.
The nasolabial angle was big.

Preoperative consultation design. Nasal base view.
NASAL BASE VIEW
The nostrils were asymmetric
The columella was tilted to the right side.
The columella was too thin.
To improve each of these problems, I established the following plan:
Surgical Plan for Nose Bridge Starting Point Lowering
The space between the eyebrows was too high. ➜ Lowering the starting point to the pupil line
The nose was bent to the right side. ➜ Outer osteotomy
The nostrils were too visible and asymmetric.➜ Deviated septum correction using self-rib cartilage
The nose looked too long. ➜ The lowering of the starting point is expected to correct the lenght of the nose.
The columella looked retracted and the alar was descending. ➜ Correction of the nasolabial angle to an approximate 95° angle by lowering the columella using the self-rib cartilage.
The columella will be expanded, and the slant will be improved sufficiently only with the septal correction.
Before and After Surgery Photos
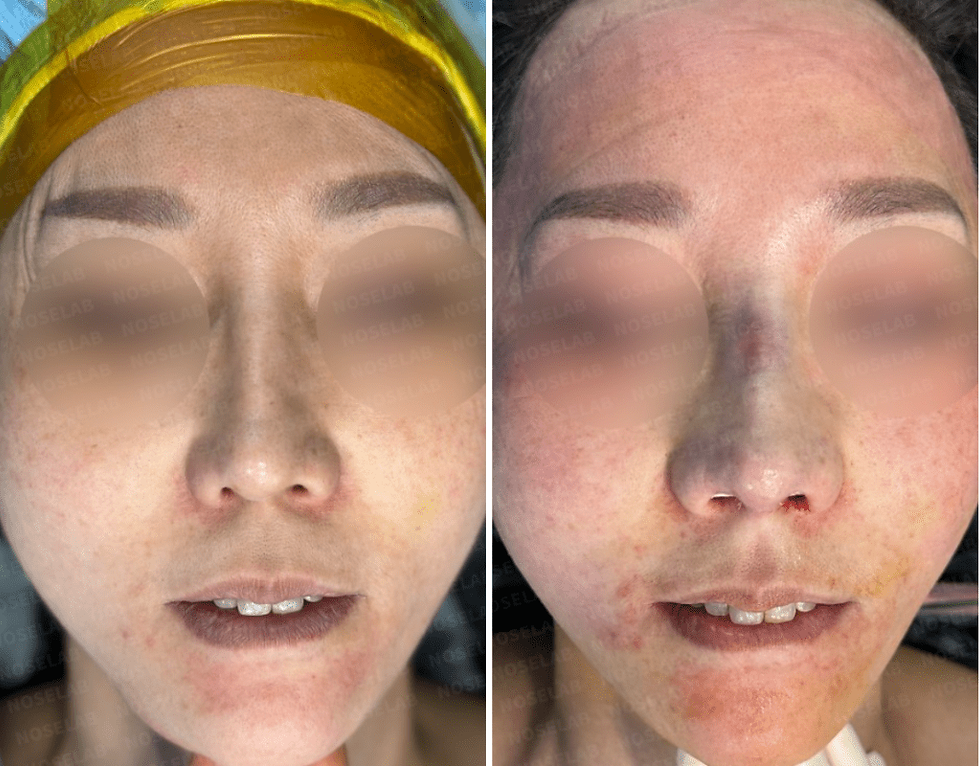
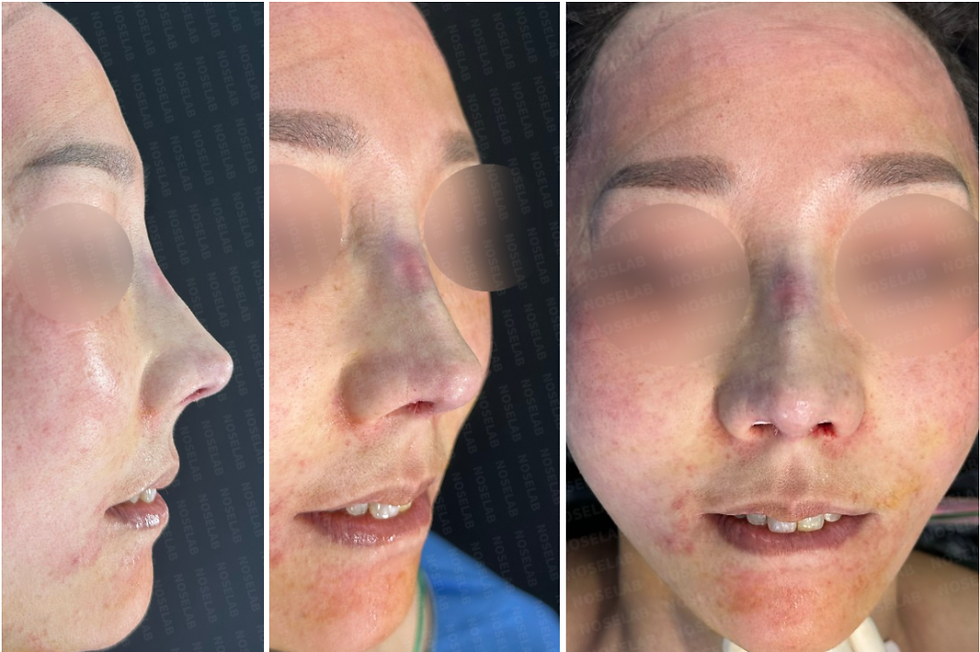
The surgery went as expected in the preopreative plan, and the results were satisfactory. When observing the frontal photos after the surgery, we can see that the glabella starting point was given a more natural appearance. The Gore-tex that had been inserted in the nose bridge was cleanly removed in its entirety. The bumpy parts on the nose bridge were improved as well, and the nose tip height was meticulously increased.


When seen from the front, the glabella was leaning too much to the right, but right after the surgery it could be observed to have improved significantly, and the nostril asymmetry was definitely improved.

The most dramatic part is the change in the nostrils. Since there was a sever leaning to the right side, the columella was moved to the center to gove the nose a natural appearance and improve the nostril asymmetry.


By looking at the before and after surgery photos, the enlogated appearance was reduced significantly, and they look wider, changing the image to be more natural-looking.
Today we discussed about the lowering of the nose strating point. I hope this text will be helpful for those who are thinking about having a revision rhinoplasty.
Dr. Chayoung Kang
Director of Noselab Clinic

Messenger(WhatsApp) : +82 1057360302
Home page : www.noselab.co.kr
Instagram : noselab_global
YouTube : Noselab
Email : noselab@naver.com


댓글